Below you will find pages that utilize the taxonomy term “Gd”
STI Spec C key plate Part II, or Muhammad must go to the mountain!
This remote kept bothering me. And while I concluded that programming it was indeed impossible, I still kept thinking how to make it work with the USDM fob. The solution turned out to be quite a hack, so a full disclaimer is in order: PCB boards suffered during the process, those of you with a delicate, electronic heart, are encouraged to skip this post.
Just as the saying in the title goes, I was determined to fit the original key’s PCB into the American one, no matter what. The first obstacle was the switches, which were permanently soldered to the board. I came to the conclusion that this was too small of a component for my skills (because although I do have a soldering iron and I’m not afraid to use it, there have to be limits), so I begged a technician at Lispol to do it for me. Big thanks to this guy - no one in Kraków wanted to take on the task, and I went to many a places, but he did and even called me to consult the length of the wires.
Rallye Boží Bojovníci III
The time has come again. The weekend is reserved, the route, in general, is planned, the stages have been reviewed, and it’s time to begin the third edition of Rallye Boží Bojovníci. This year, we decided to drive around the Tatras, and with that, experience stages from Rajd Śląska, Rally Liptov, and Rallye Tatry. Here are some stages we’ve driven:
Slovakia is a beautiful country, and it’s fantastic to drive when the Tatras, Veľká Fatra, or Malá Fatra are constantly in the horizon. The winding, narrow, up-and-down roads are just perfect for Impreza with its 525nm of torque. The people are also very friendly and open. Honestly, I’ve never had so many people wave at me and greet me as I did in Slovakia. At every petrol station, and I do mean every single one, someone would stop to talk about the car. The best moment was when we stopped in Spišské Hanušovce, where the Impreza was idling, cooling off the turbo, and we planned to go to the Potraviny to get some bread for breakfast. Suddenly, we saw two guys walking from the other side of the road, dressed in workshop clothes, and waving at us to drive into their yard. So, we hopped in the car and drove over to them. They were from Baka Motorsport, super friendly bunch. We chatted, and they showed us what they had in their yard, which was quite a lot: from GC8 to VA, and from Evo VI who someone had managed to roll to a GT-R hidden in a storage under a blanket. They liked the Impreza so much that they wanted to buy it. They said they were going to Nowy Targ in the evening to pick up another Impreza and an Evo, and invited us to join them, so they could show us some local tricks. However, we were heading west, so we waved goodbye and parted ways.
Aramid
I did some detective work and am 99% sure this is my car: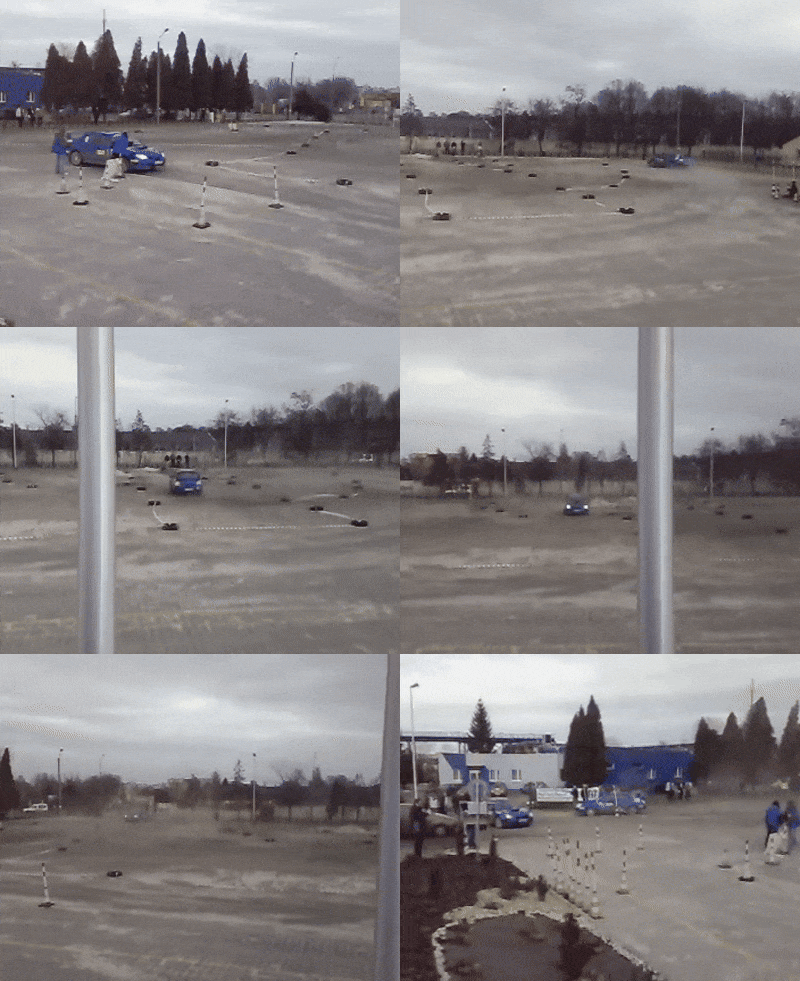
In those clips the first owner behind the wheel, about 16 years ago, which is
just over a year after purchasing it (best wishes if you’re reading this!).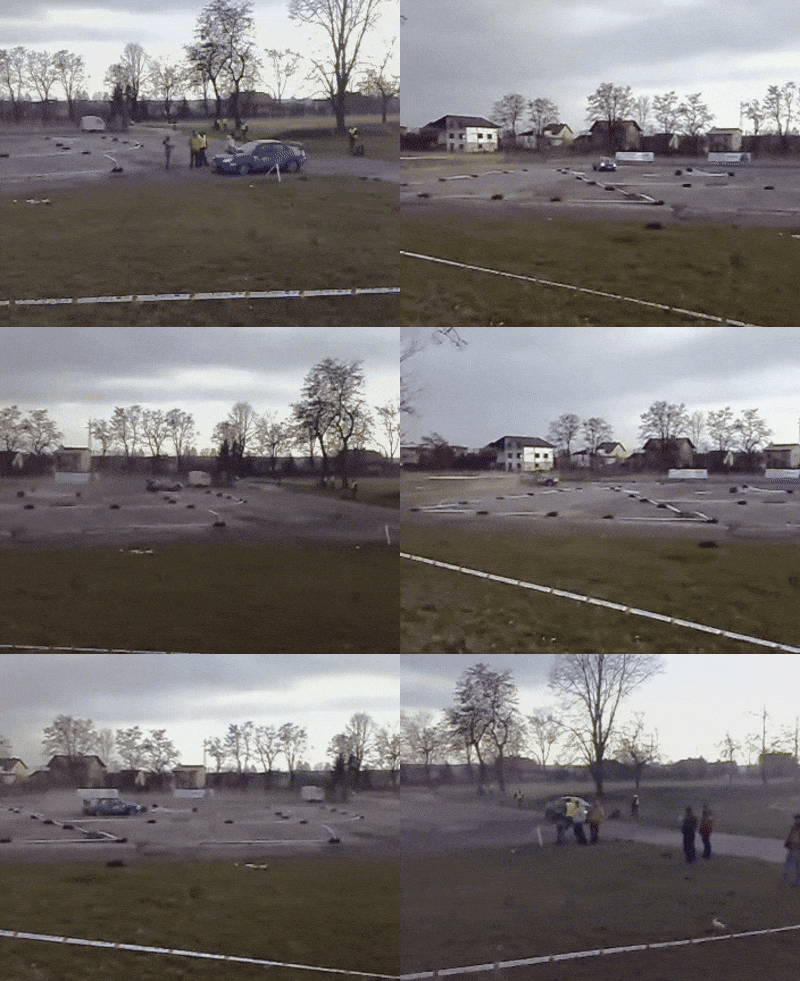
The same owner kept the car for many a years, despite driving a whole bunch of very unusual cars during that time (looking at you, Fiesta R2 and DS3 R3T). I’m mentioning this because on Friday, I removed the aramid skid plate from under the engine, a memento from those days. The aramid plate is cool, but for my usage and how I drive the car, it’s definitely an overkill. It also had one flaw: the front is securely held on with two bolts, but the rear has a, rather poorly designed, pair of tabs, which slides into holes in the plastic underbody shields (I had to have those floor pan splash shields welded back in the day). This is not a great solution. Not only does the skid plate not stay rigid and hits the underbody on bumps, giving me a mini heart attack every time it does that, but over time, it also cracks the shields it’s inserted into. I think this plate might have been a part of a bigger N12 kit, and perhaps it was better integrated with the other shields?
Lego, or maybe Defi
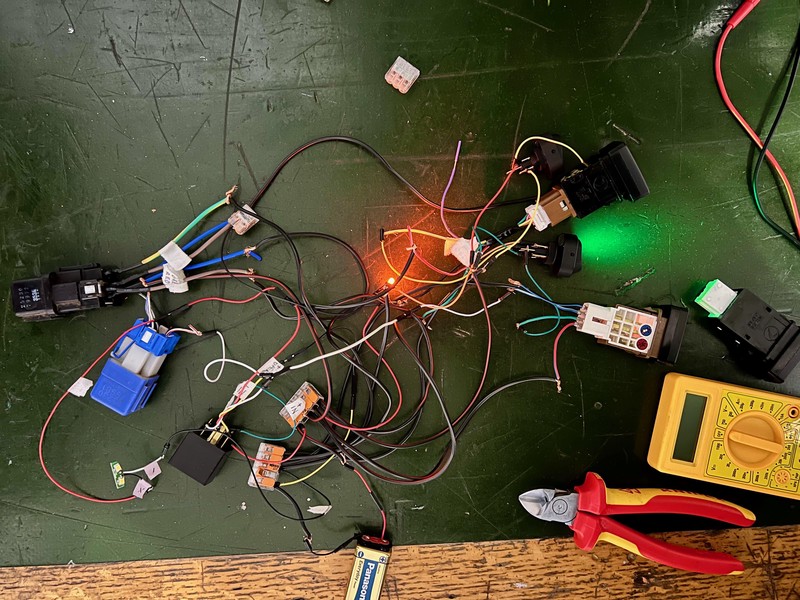
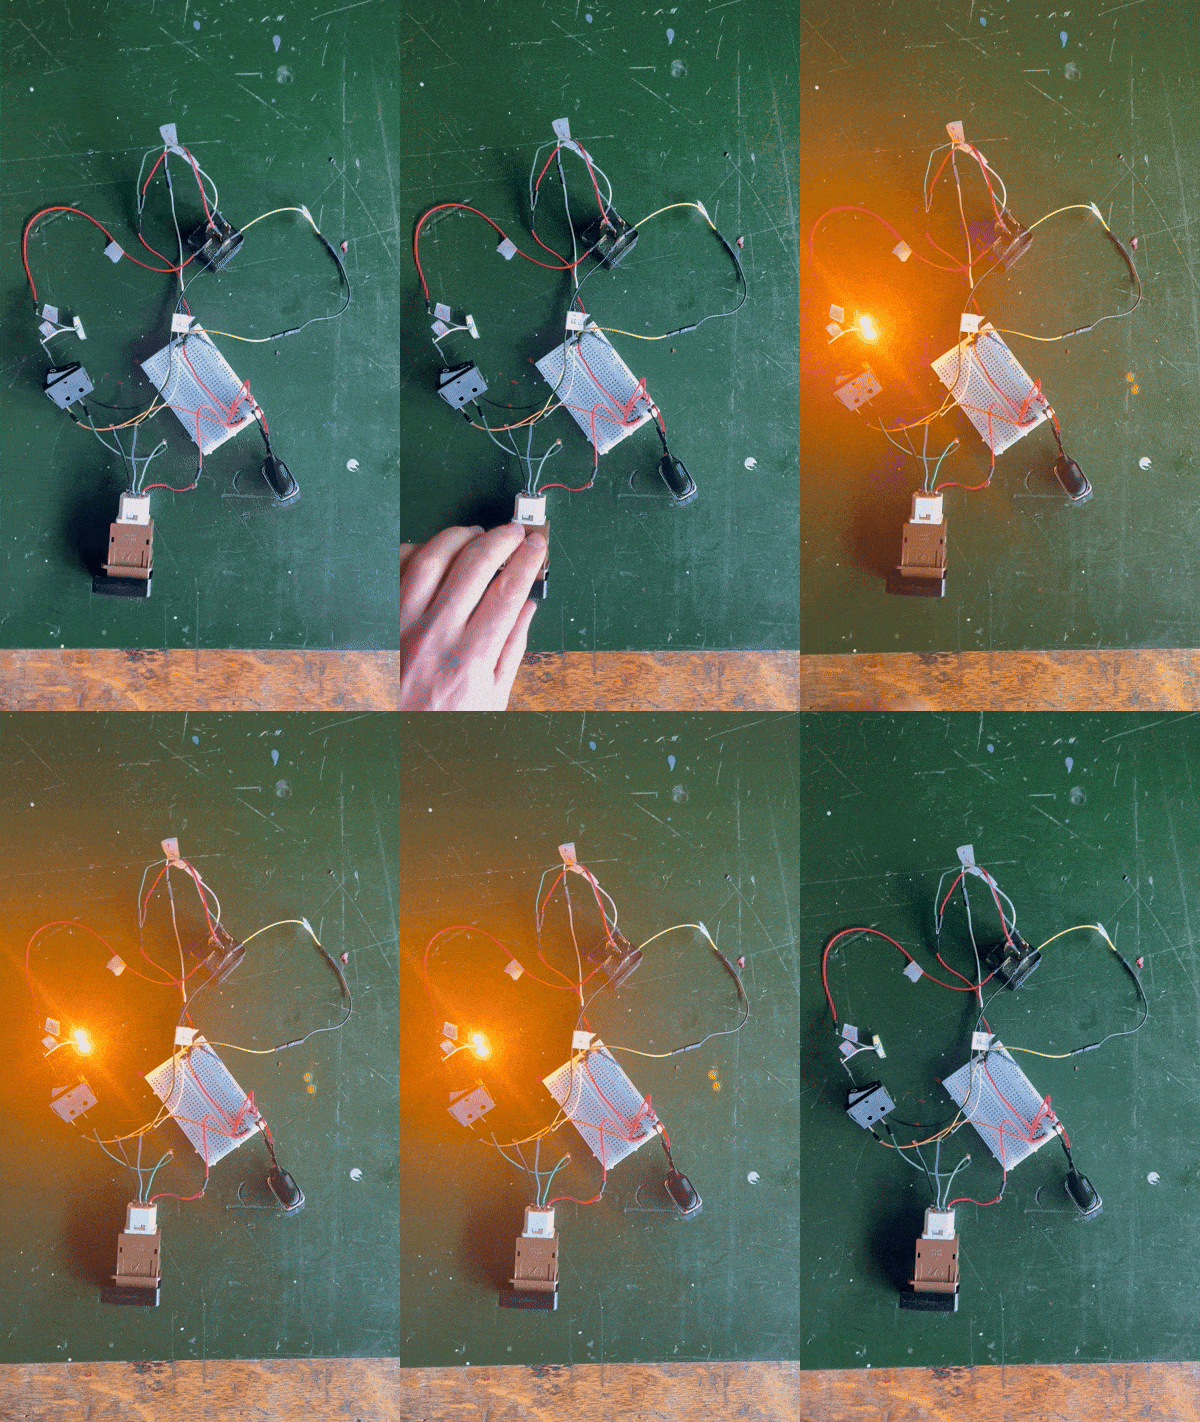
It all started when my son wanted a bit of peace and quiet. He said he would like a system that shows when he’s available, busy, and when it’s absolutely not okay to disturb him (oh, the horror of being nine!). I thought it sounded like a traffic light - red, amber and green. A trip to the electronics store, a raid on the Lego box, a bit of soldering, and this is what I came up with:
Service sticker
For quite some time, I have been changing the oil and filters myself. I have notes with the mileage and dates of the changes, but it always annoyed me that I had to check them to see if “it’s time.” Inspired by Boxer Beauty, who, by the way, have a lot of rare stickers for Subaru, I decided to fix this. Here’s the fix:
A single sticker is 105x85mm, the minimum order for that size was 66 stickers, so I’m good for round about 30 years.
STI Spec C key plate
57497FE000 – If anyone else would like it :)
I’ve had it for a while now. It all started looking like this:
It’s a nice thing, but feels a bit rough and ready. Even the brand-new key, had the blue plastic cover sticking out. I was a little disappointed, but quickly forgot about it, especially after I’d read online that it was a common issue.
Maintenance: 2024 Impreza Log
2024 05 31
60871 km
- Engine oil change (Motul 300V Competition 5W40),
- Air Filter Replacement,
- Cabin Filter Replacement.
Hype distribution system
I made this – “Hype Distribution System”. Maybe someone will spot them out in the wild.
There’s something pleasing about stickers, almost like graffiti, acting as a barometer of a city’s vibe. I really do like them both.
Winter sleep
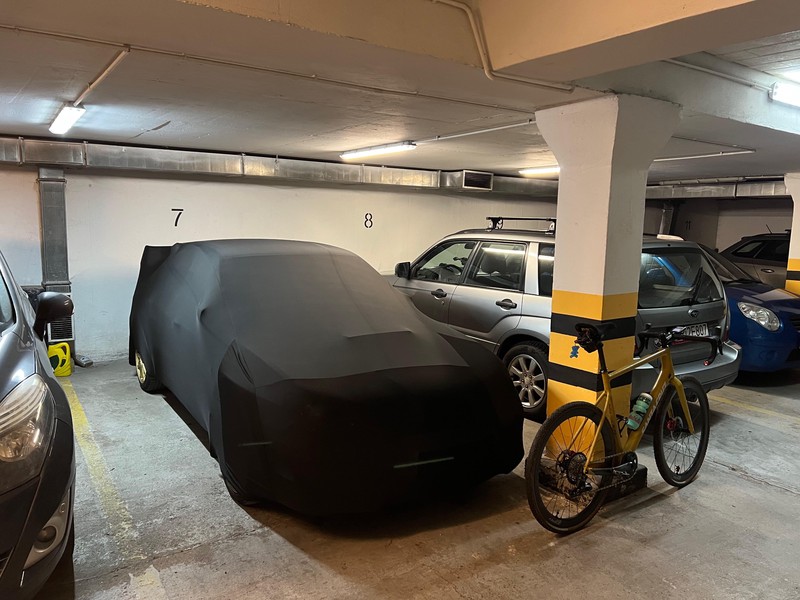
It bothered me how much the Impreza was collecting dust in the garage, and since it will be driven less now, I decided to do something about it.
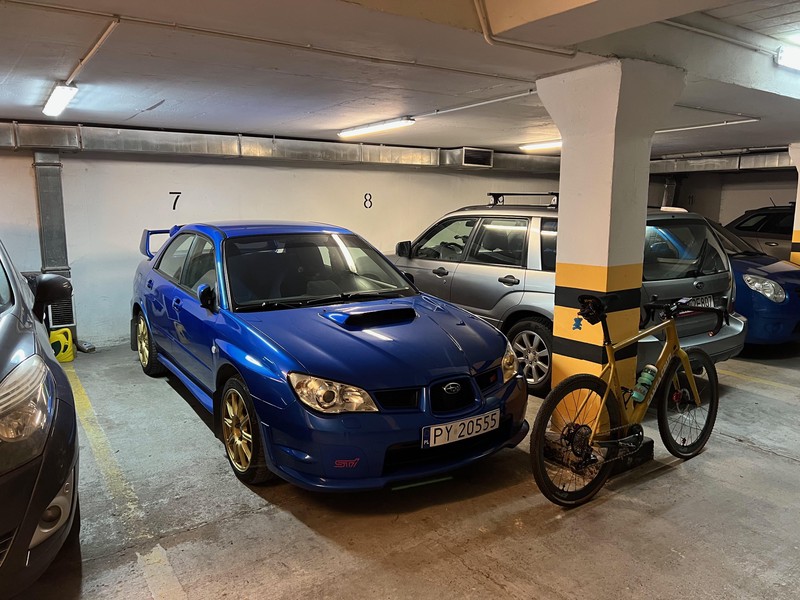
Here are the before and after shots:
The fabric is really nice, stretchy, and soft. The cover is clearly custom-made with Impreza in mind, with a huge pocket for the rear spoiler. A few close-ups:
Latent Heat of Vaporization I.V
I get to go to the UK every now and then for work. Last week was one of those trips — a bit of office work and the company’s Christmas party. The UK is great for JDM parts because of the left-hand drive cars, and I took advantage of that. On the flight back, I brought this with me — a 12-liter worth of “this”:
Spec-C, brand new intercooler water tank with all the attachments and water pump.
Latent Heat of Vaporization
For now, just a trial fit, but I’ve found myself a new wee project.
Scale modeling: Post scriptum
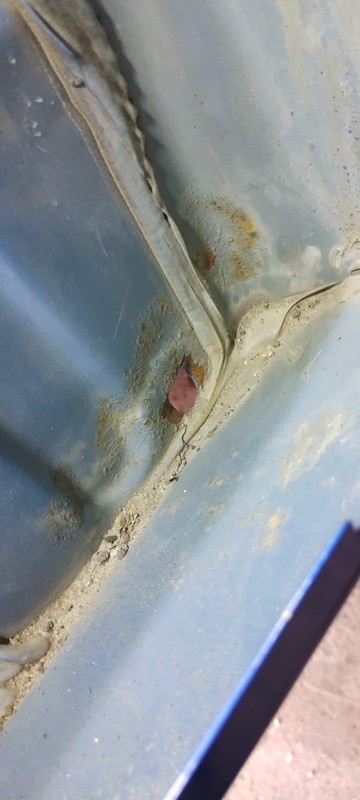
I absolutely love cars with the Pleiades badge, but it’s a love that’s more on the difficult side. The mirrors — seemingly nothing special, just three screws, and either they’re on the car, or they’re not. Imagine my surprise when I found the beginnings of corrosion under the triangles:
This is yet another area that needs attention.
Scale modeling III
The final task is to run the missing wiring responsible for controlling the mirror folding motors.
As I mentioned in an earlier post, it’s really handy to have a spare wiring loom from the left door to use the original pins. Additionally, you’ll need copper wire. I bought 10 meters of 1mm double-core wire, which was probably a bit of an overkill. You can easily divide that in half, so 5 meters should be just enough. The 0.5mm diameter is closer to the original as well. The double-core wire works well because you need to run two wires, making it quite convenient.
Scale modeling II
First the idea, then the order, waiting, the container shipped, a trip to the parcel locker, and I have it.
Getting the mirrors to work is a bit tricky. You need two sets, JDM and EUDM, to start with. Each set needs to be completely disassembled, and you’ll also need to add two extra wires to the harness and, finally, adjust the triangular bases to which the mirrors are attached. I decided to go with a hybrid approach:
Scale modeling I.V
I checked the mirror plugs and the switch, removed the pins from the plug, and it turned out that none of the local electronics or automotive shops had the ones I needed, and what they had barely fit. Instead of forever struggling with the wrong pins, I decided to buy the entire wiring harness for the left door and give it a new lease of life.
Now, just waiting for my vacation, and it should be possible to put everything together.
Scale modeling
As kids, my cousins and I spent a lot of time building models, and now, after quite a few years, the thrill of building something out of small plastic parts has come back to me.
I always looked at the mirrors of modern day cars with envy as they gracefully glided to a full fold in parking lots. To be honest, I didn’t know that JDM Imprezas had electrically folding mirrors, but as soon as I found out, I immediately started plotting.
Wieliczka
Last weekend, the Janusz Kulig and Marian Bublewicz Memorial took place. I decided to go. It was a really great event that transformed that small town, Wieliczka, into a rally-fueled, colourful little place. It was fantastic to see entire families watching the competition, with kids laughing out loud at the roar of the ALS.
It was even more enjoyable because there were so many historic cars, including models from my era of WRC, like the Ford Sierra, Escort, Focus MK1, and Toyota Celica ST-205 GT4 — really quite special!
Maintenance: Oil change
Oil change: 60871 km, Motul 300V Competition 5W40.
Some time ago, I got myself one of those Mishimoto magnetic oil drain plugs, just for peace of mind. So far, so good.
Strut bars
Last year, the Impreza got a dedicated STI strut brace. It looks really nice, and I think that’s the most important thing. Whether it actually makes a difference is another matter. Anyway, here are before/after shots:
An up shot from the change of the strut bars is that I ended up with a slightly worn-out bar, which was just perfect for Forester:
Rallye Boží Bojovníci II
The second edition of Rallye Boží Bojovníci was centered around the Hill Climb at Prządki. The rules were exactly the same as last year: south of where I live, a spring weekend, this time at the Polish-Slovakian border. A bit of driving and sightseeing.
An artisan from The Witcher
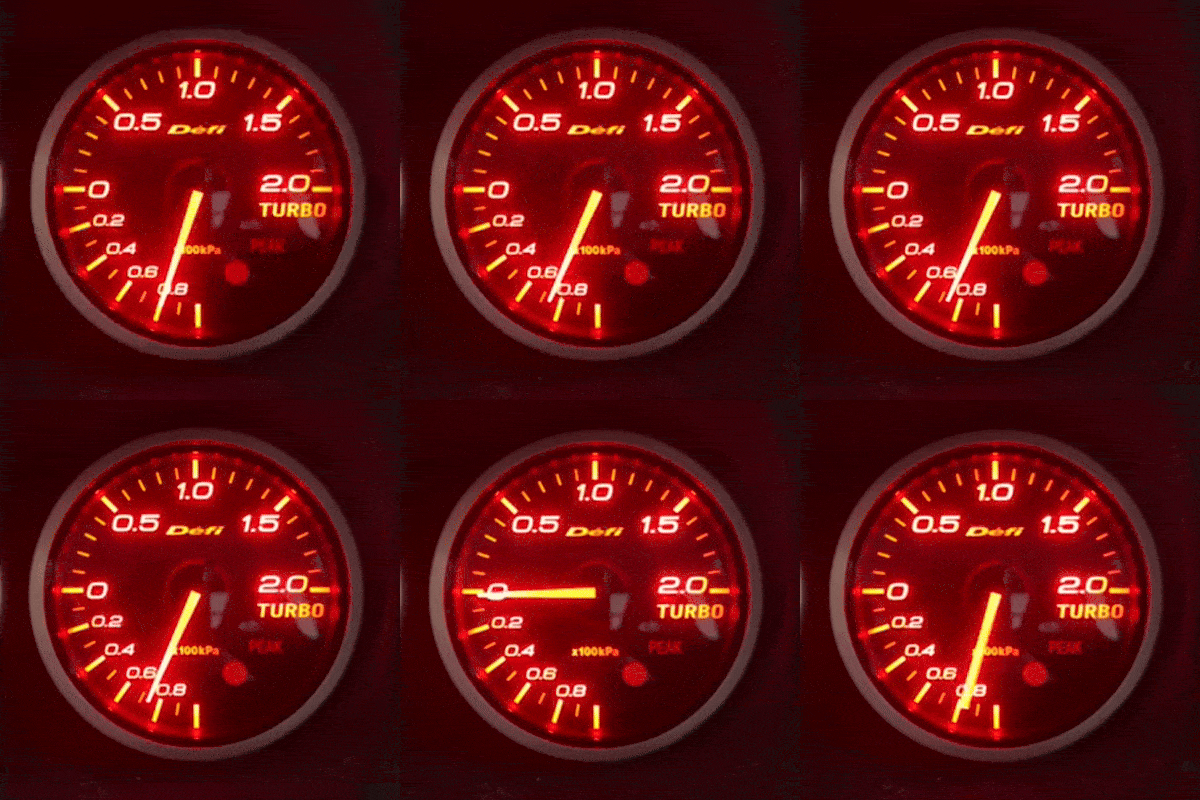
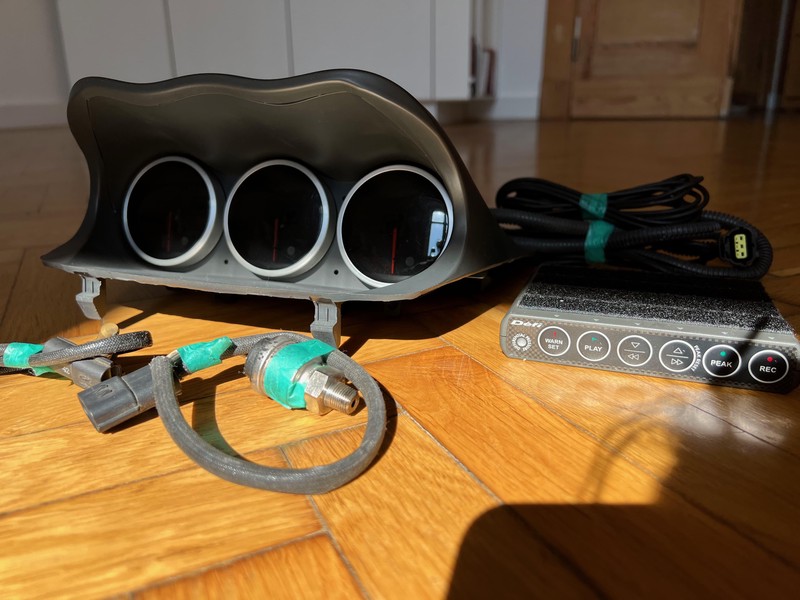
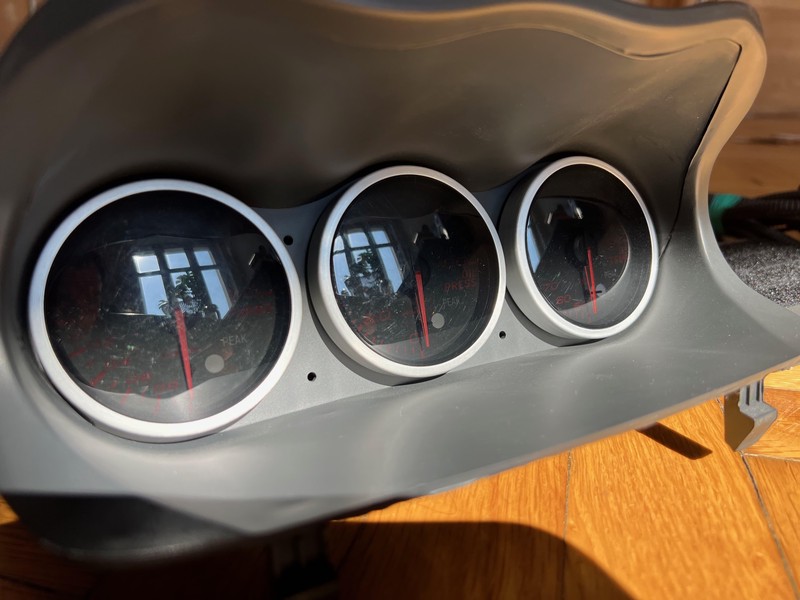
Back in April of last year, I bought a control unit along with a set of Defi gauges: oil pressure and temperature, boost, and water temperature (the latter is looking for a new owner), all with beautiful, deep amber backlighting. They match Hawk’s ambience perfectly. I then set out to find an ATI gauge pod, which turned out to be quite a challenge. There is a bunch of similar products available, but none with attachment clips at the bottom, and I wanted it to fit perfectly, with no squeaks or gaps. The Belgians came to the rescue, and so, in mid-September, the postman brought a package from AVB Sports.
Departures and arrivals
Sometimes we wander around northwestern Poland, usually by bikes. A few months ago, I noticed a large, unused railway siding in the middle of the forest. I thought to myself: “This is a place worth remembering when the white stuff starts falling from the sky”. Some time passed, the stars aligned perfectly: Forester, Tomek, I, and the snow found ourselves in the right place at the right time. Here’s the result of a good few minutes with AT locked in 1st gear, starting from virgin powder, to this:
Maintenance: 2023 Impreza Log
2023 04 19
54435 km
- Engine oil change (Motul 300V Competition 5W40),
- Air Filter Replacement,
- Cabin Filter Replacement,
- Replacement of Rubber Gasket for Engine Oil Filler Neck.
2023 08 10
56514 km
- Turbocharger Intake Duct, Impreza STI 02-07 – 14459AA224,
- ACL Race Connecting Rod Bearings STD for Subaru – ACL-4B8296H-STD,
- Spec C Connecting Rod Bearings – 12108AB010,
- Crankshaft – 12200AA430,
- Cosworth Metal Head Gasket 1.1mm – 20010707,
- Piston for Subaru Forester/Impreza 2.5T – 12006AC410,
- Piston Rings 025 EJ25 NPR (AA760) – SWF20064ZZ025,
- Exhaust Valve Seal – 13211AA110,
- Intake Valve Seal – 13207AA120,
- Engine Block O-Ring – 10991AA001,
- Waterpipe O-Ring – 806933010,
- Engine Block O-Ring – 806932030,
- Intake Manifold Gasket – 14035AA421,
- Exhaust Manifold Gasket – 14038AA000,
- Rear Crankshaft Seal – 806786040,
- Front Crankshaft Seal – 80673-3030,
- Camshaft Seal – 806742160,
- Camshaft Seal – 806732160,
- Small Valve Cover Gasket – 13293AA051,
- Right Valve Cover Gasket – 13270AA190,
- Left Valve Cover Gasket – 13272AA140,
- NGK Spark Plug – ILFR6B,
- Timing Belt – 13028AA240,
- Double-Row Guide Pulley – 22-07010K,
- Timing Belt Idler Pulley – 22-07003S,
- Single-Row Guide Pulley – 22-07002S,
- Small Double-Row Guide Pulley – 22-07009D,
- Timing Belt Pulley Bolt 8x55x20 – 800708460,
- Hydraulic Timing Belt Tensioner – 21-07006D,
- Oil Pump – 15010AA360,
- ARP Bolts – ARP 260-4701,
- Aisin Turbo Water Pump, Three Inlets – 10-07009,
- Heat Exchanger – 21311AA051,
- Flywheel Bearing – 806212020,
- Oil Hose – 15192AA570,
- Engine Breather Hose – 99071AB352,
- Oil Filter – W67/1,
- Engine Break-In Oil – Millers CRO 10W40,
- G11 60L Coolant Fluid – KTT G11,
- Cylinder Head Regeneration,
- Block Machining,
- Radiator Replacement,
- Motylgear 75W90 60L MTF Gear Oil,
- Differential Oil Change,
- Release Bearing – 3050212U00,
- AC Belt Tensioner Pulley – RNK-SB-000,
- Millers Oils CRX LS 75W90 NT+ 5L,
- Knecht Air Filter – LX307,
- Timing Belt Cover Sleeve – 13592AA011,
- Camshaft Pulley Bolt (Intake) – 13199AA000,
- Oil Pump Pickup O-Ring – 806917080,
- Impreza WRX/STI Rear Muffler Gasket – 44022AA131,
- Internal Timing Belt Cover – 13573AA131,
- Thermostat – 21200AA072.
2023 09 25
57099 km
Rust Diaries: Post scriptum
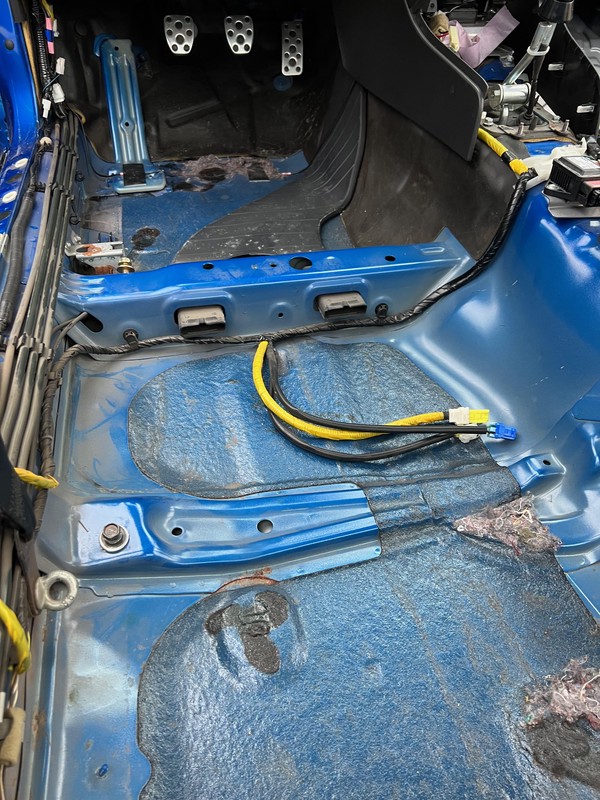
Since Tomek is currently laying down the carpet in the Impreza and will soon start installing the seats, I thought it would be a good time to write a little summary.
Is it worth it?
Yes, definitely yes. Time takes its toll, and although this particular example was in objectively good condition (see sills, shock absorber mounts, and fenders), I don’t know how it would have looked in a few years time. Now, I can sleep a bit more peacefully. Besides, there’s a lot of fun in all this work — we laughed like beavers chomping on aspen twigs. There’s also satisfaction — maybe not exactly “build not bought”, but something along those lines.
Rust Diaries: The interior
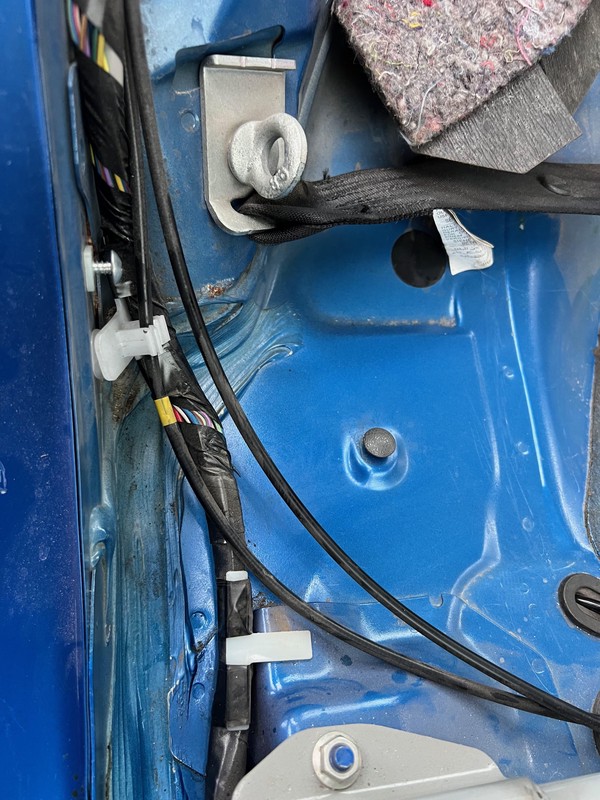
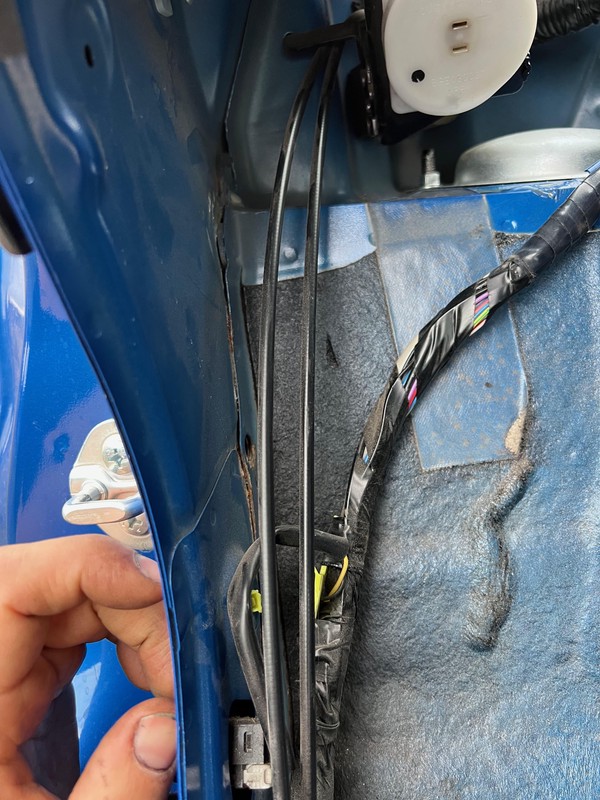
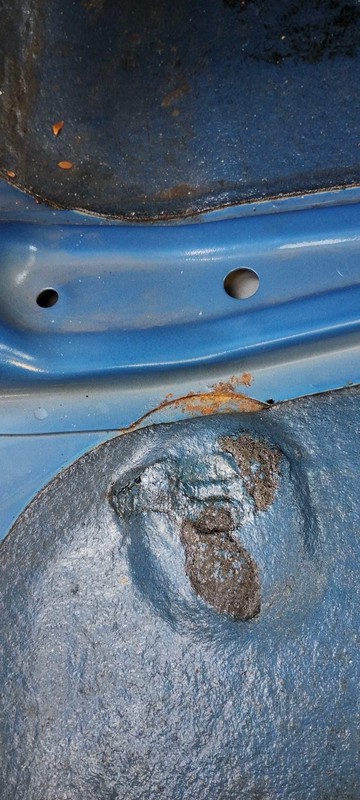
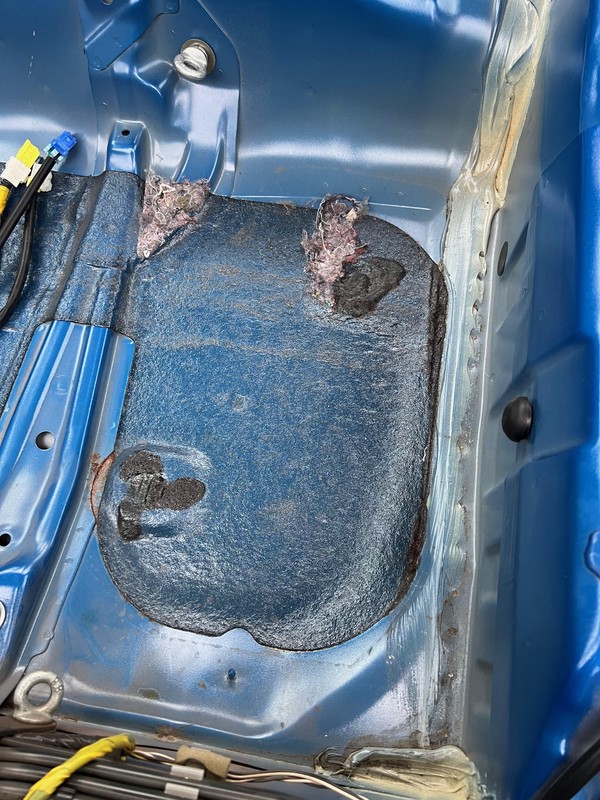
During the summer holidays, we stripped the interior from the dashboard to the trunk; now it’s time to finish the job. Although I’m already in Poznań, Tomek is still working on it. The condition is actually very good, no holes or deep rust pitting.
The method is exactly the same as for the undercarriage: stripping, sanding, and using the chemicals. The only difference is that instead of Cobra, Tomek is applying 02C paint as the final layer.
Rust Diaries: All things are important, but some are more important
Of the important ones, with a big smile on my face, I’m happy to report that the Impreza will soon have all its clips in perfect condition. I spent a fair bit of time under the car and noted all the missing, broken, and suspiciously hanging by a thread clips, and as always, my local Subaru specialists stepped up to the task. I’m also really happy about the sponges for the fuel tank roll over valve and fuel pump access flap, they were in pretty bad shape, and are notoriously hard to come by.
Rust Diaries: The chemicals
Since I’m not a painter and don’t really have anyone to consult on the matter, the only thing left for me to do was to go through a huge number of threads where car enthusiasts battle with the oxidation of iron and its alloys. The real results are delayed, so my choices will be verified in a few years — who knows, maybe I’ll have to eat my words. Here are my conclusions, in the order of application (for the visually inclined, photos follow).
Rust Diaries, Day 24: The engine
If you know your Subarus, you should know that with those flat fours, it’s a tale of “when”, not “if”. With a slight summer delay, I’m reporting the pickup of the Impreza from Nowy Sącz. It started innocently enough, but ended the way it always does. The list consists of 59 items, and the bill… a bit more than 59 PLN. The cylinder hone to the first oversize, and everything associated with it, was done properly, without cutting corners on costs.
Rust Diaries, Day 23: On its own wheels
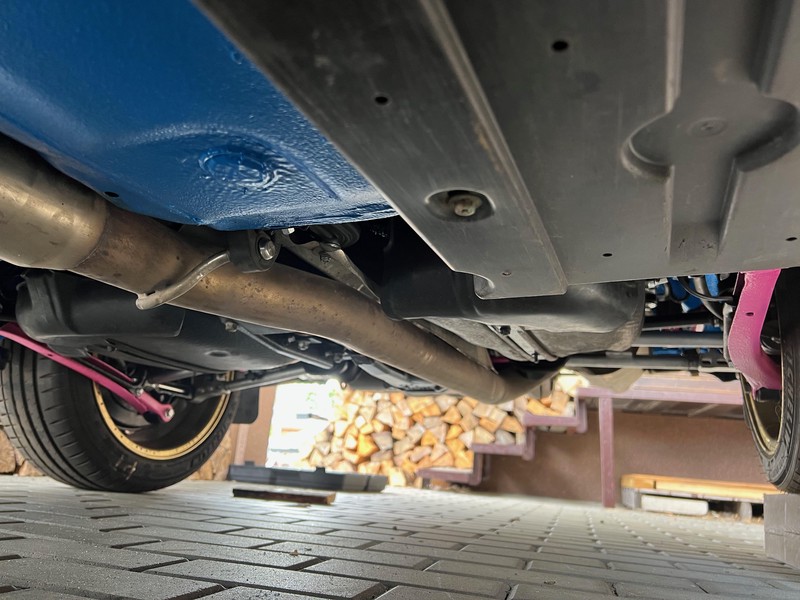
We’re wrapping up this project. Floor pan splash shield and the rear diffuser. Exhaust.
Front and rear bumpers with lights. Wheels. And after a month, the car is back on its very own BBS forged alloys.
Rust Diaries, Day 22: The end is in sight...
…or maybe: The end is near!
The front and rear brakes are installed, and while we were at it, the handbrake shoes were replaced.
The front wheel arches, mudguards and rocker panel covers are installed. All the missing clips have been replaced.
Rust Diaries, Day 21: Fuel filler neck
The fuel filler neck is assembled. It might sound like a silly little part, and it is, but there are plenty of components to put together, not to mention all the pipes going in and out of the vapor canister.
The rear sway bar and a pair of new links have been installed because the old ones had an encounter with an angle grinder.
Rust Diaries, Day 20: Rear axle II
It’s starting to look really nice. The rear suspension is finally reunited with the car.
And the most important thing, we figured it out — well, actually Tomek’s Dad figured out how to save the snapped bolts in the chassis beam. He welded two small plates to each of the two nuts, which we inserted through the service holes into the correct position. Then, we secured them with screws so that the plates were positioned against the lower plane of the beam. We then drilled a hole through both the beam and the plate, so that a rivet could be inserted through. It turned out perfectly — the rivet held the nut in the correct position so that we could start the thread, and thanks to the plates, we could properly tighten the bolt (without having a wrench on it), as the plates wedged inside the beam. It was done without cutting or welding anything.
Rust Diaries, Day 19: Rear axle
Well, now we’ll see. Anyone can take something apart.
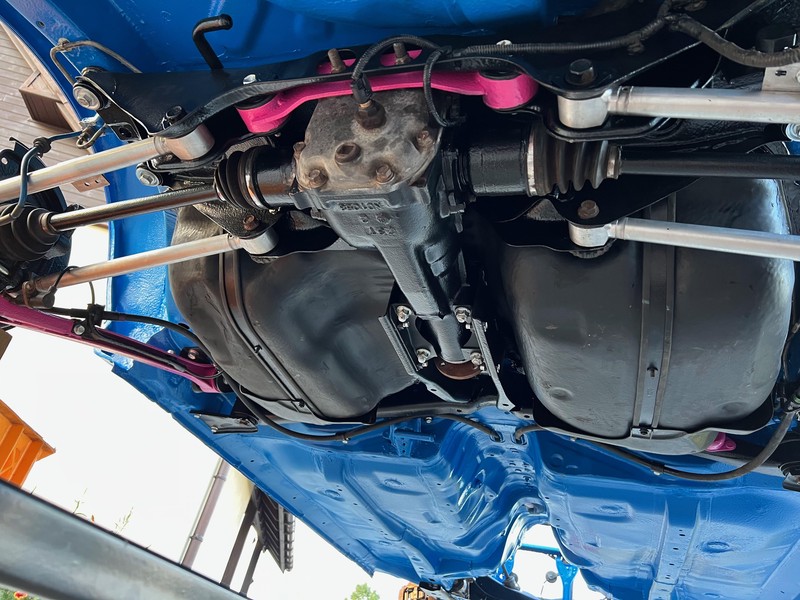
Today, we assembled the complete rear axle, including the differential and its housing, subframe, and trailing arms.
Rust Diaries, Day 18: The last day of painting
Cobra in the engine bay.
Final touches on the gearbox housing (a keen eye might notice that Tomek decided to celebrate the end of painting with a rather cute sweater):
Rust Diaries, Day 17: Black and pink
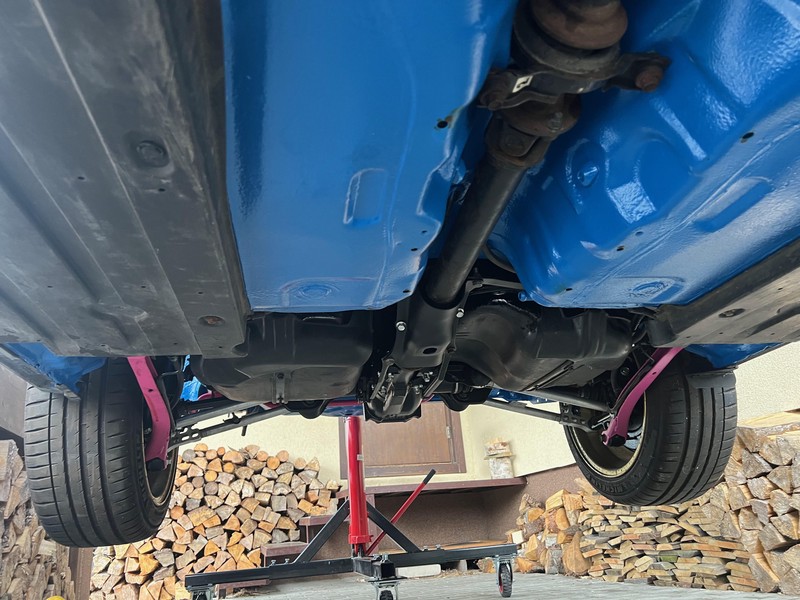
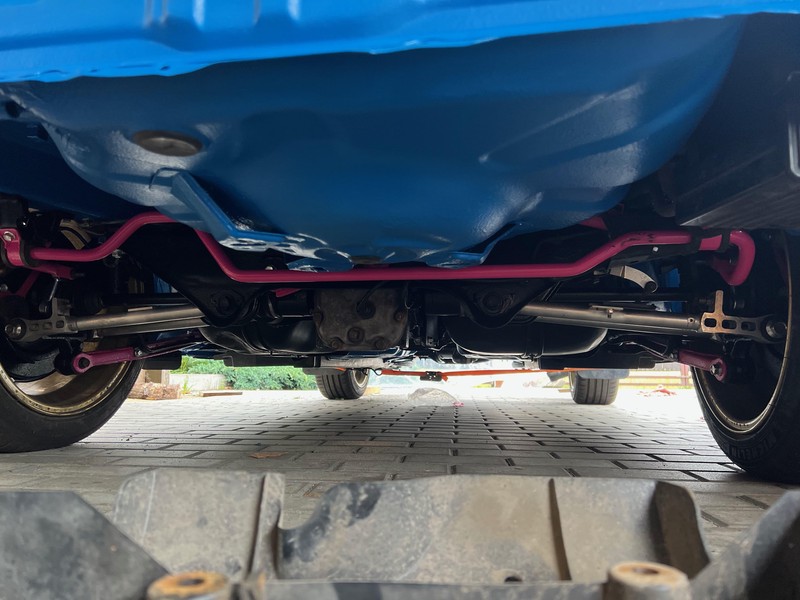
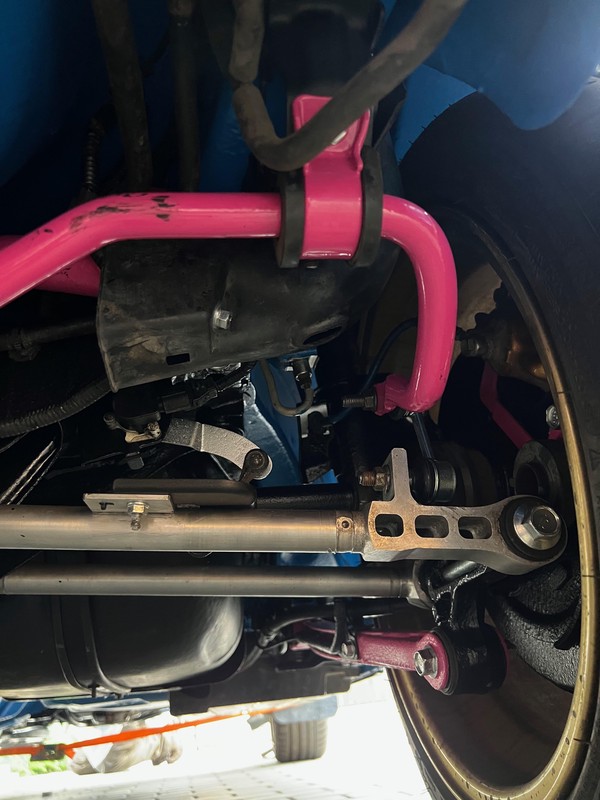
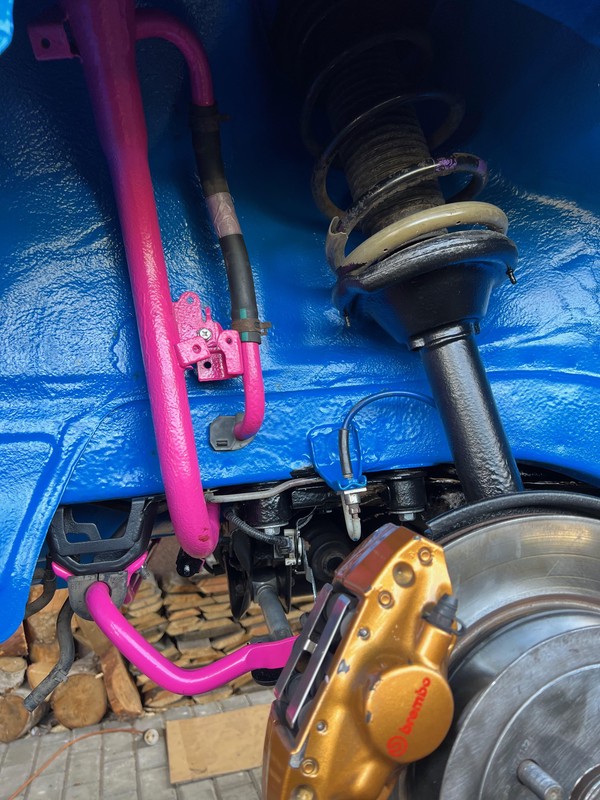
Following up on the work done on Day 15, we finished with all the large and small parts; they received a final coat of Cobra. Black for the most and pink (STI pink, if you like) for the smaller bits. This was inspire by those iconic trailing links ST2027055000, that’s RAL 4010, if you’re wondering.
A quick look at the home paint shop.
Rust Diaries, Day 16: Truck Bedliner
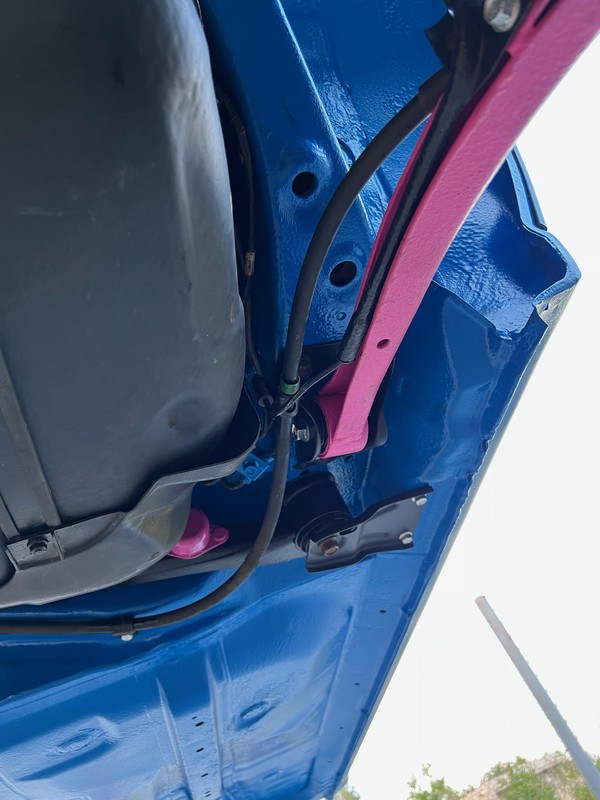
The work’s picking up pace. Today, we opened the first can of Cobra – a textured truck bedliner coating based on two-component polyurethane resins, which is going to make the final layer on the underside of the car. I was a bit apprehensive about this moment and wasn’t sure how RAL 5017 would look on the car. But I think it turned out quite well. Yes, it’s brighter than 02C - World Rally Blue, but once everything that the roads have to offer covers it, it will look class. Cobra on the rear wheel arches and up to the gearbox line:
Rust Diaries, Day 15: Subframes II
Following up on the work done on Day 12, we continued with all the large parts that didn’t make it to the powder coating: Dinitrol and the primer.
I spent some time and effort on the lateral link set — steel wool works wonders on those aluminum pieces.
Rust Diaries, Day 14: Halfway point (?)
The theoretical halfway point (I gave myself a month to finish this), but we’ll see how it turns out in the end. The engine bay won’t be stripped; we wouldn’t have had enough time, plus some of the work required could have been too much for us to handle — like rerouting the fuel and brake lines. After all, our technical consultant deserves our respect and we would not want to over work him. As a result, brown packing paper in hand, it’s time to start packing things up. We’ll finish stripping at the chassis beams level.
Rust Diaries, Day 13: From big to samll
The next logical step was to tidy up all the remaining small parts, and that’s exactly what we did. Quite a few of them went through zinc plating.
Rust Diaries, Day 12: Subframes
During the break from the sheet metal on the underside, we tackled the bigger parts: subframe, trailing arms, differential and driveshaft mounts, sway bar — basically everything we could get our hands on. The only difference was that all those parts went straight into sandblasting. As the car had only 56,000 km on it, the bushings were in very good shape, so we decided against powder coating the parts with the bushings, as it would ruin them in the process–for those it was the usual treatment Dinitrol and Interplus. There’s something to be said about those OEM parts — sure, you could replace them with the likes of Powerflex, but that didn’t feel right. Everything else was powder coated, though.
Rust Diaries, Days of abrasion
The first grinding sessions quickly turned into worn-out discs, bald brushes, and soot-covered faces. The days blended into a blurred continuity, punctuated by Dinitrol and Interplus 256. Our best friends became the angle grinder and the power drill. For the most stubborn areas, we resorted to sand blasting, but that was definitely the minority.
I like this picture quite a lot; it shows the stages nicely: in the middle, bare metal; to the right, covered with Dinitrol RC 900 – rust converted and primer; and finally, on the far right (ahem), still untouched.
The Goodies
In the meantime, the goodies:
Oil pressure and temperature, as well as turbo boost from Defi, in the ATI gauge pod. That pod was really hard to find; I tracked it down in the Netherlands.
For completeness, the console, all the sensors and the wiring:
Rust Diaries, Days 4 and 5: Brushes
Some conceptual work, preparation for cleaning, and testing of various wire brushes and polyamide abrasive discs were done.
The car’s body was wrapped to protect the paintwork and then moved under the shelter.
We also managed to disassemble the rear axle.
Rust Diaries, Day 3: Rear suspension and fuel tank
It’s warm, so the car is melting quickly. Today, we dismantled the entire rear suspension: struts, springs, brakes, axles with the differential, the fuel tank, and the rear crossmember. The work is going surprisingly well; Tomek’s dad is well skilled.
On the downside, we snapped two bolts — one from the diff mounting and one from the rear suspension trailing arm. There’s a nearby access hole, but we don’t have much hope for success.
Rust Diaries, Day 2: Turntable mounts and gearbox
Whit the chassis frame entry points in sight it was now time to attach the mounts. As described in a previous post the front required angle brackets welded in, which attach to the frame with two bolts and slide in to the turntable nicely:
The back fits just as snugly, utilizing the bolt holes originally present on the frame:
Rust Diaries, Day 1: The starting point
Goal for today: main chassis frame. We don’t have a garage lift (at least not yet), so the plan is to do all the work using a paint-shop-style turntable. This will give us good up-and-down movement, and when we need to strip the underside, we should be able to tilt the car sideways easily. The inserts for the chassis frame will be made from 50x50mm thick-walled profiles (which fit perfectly into the internal profile of the turntable mount). At the rear, there will be 3 bolts on each side, directly into the frame rails. At the front, an angle iron will be welded to the profile, with 2 bolts on each side, going into the beam mounting holes.
Rust Diaries, Day 0: Nowy Sącz
Alarm set for 5 a.m., quick coffee, and off we go. Of course, via Jasło and Gorlice, not the A4 — never miss a chance to take a few more corners. By 8:04, we’re at the workshop: Tomek in a tow truck from a friend, and me in the Impreza. Rendezvous back at 12. By 12:58, this is the view:
It will be a good few weeks before that EJ257 will be reunited with the rest of the car.
About those two guys who decided to...
The idea for the project is simple: on one hand, it should be as close to the original as possible, but on the other , it should last for years. My boys are already thinking about who they will pass the car on to, even though they’re still at an age far from being able to drive. I’m lucky that the community around the brand is active and eager to share their experiences. A lot of inspiration and know-how comes from the online forums.
Blue tooth and green lights, for the second time
History has a way of repeating itself, and this was the case here. For the
second time, I set off on a crusade in emerald green. This time, the task was more challenging. In addition to replacing the
light bulbs, I also wanted to upgrade the backlighting of the driver’s door
control panel. It bothered me that only the LOCK and AUTO buttons were
illuminated. It turned out that the board had connectors for the other LEDs as
well, so I soldered the missing resistor and three LEDs. Since they differed in
color from the original ones, I decided to replace those two as well:
Rallye Boží Bojovníci
Since it’s an STI, a true thoroughbred with roots in WRC, I thought it would be fitting for the Impreza to take part in a rally. As spring approached, I started browsing maps, checking out rally stages, and planning a route. Meanwhile, I had some stickers printed — after all, every rally needs stickers. Then it was just a matter of waiting for the first warm weekend, pulling the Impreza out of its hideout, and heading out for our “rally” stages.
20555
Now, let’s spill the milk. The Forester has been joined by an MY07 STI Impreza, a Hawkeye. But before we talk about the car and the plans for it, let’s start with where the Impreza spends most of its time — the garage.
I took advantage of the kindness of my local council and, at a promotional rate (dictated by the non-normative ceiling height), I became the tenant of a garage in a very hipster part of the city, which fits the car’s character quite well. The garage is nice, heated (the lowest recorded temperature during the winter was 18°C), in a closed courtyard, but it has just one small (narrow) flaw: it was built in the mid-1960s, in a building that once belonged to the Forests Commission (a coincidence? I don’t think so!) and was designed with the dimensions of cars from that era in mind. And while there are some people who could fit into it sideways, see:
